MikroTik Pushover notifications
Intro
Since I promised that I’ll focus a little bit on the notifications area, here’s a new post on the subject. As I stated in my previous post I want to monitor my devices as well, for example my MikroTik router.
Setup
In the next sections I’ll go over the process of enabling and configuring e-mail notifications (relayed to Pushover) on the router; with all the prerequisites.
SMTP server
I don’t have a self-hosted SMTP server, and honestly I don’t plan to have one. It’s not too problematic to configure a mail server (I did it multiple times back in the day), I just don’t need the hassle of getting my domain name removed from some blacklist almost immediately as I put the SMTP server on the net.
The solution to this problem is to use an SMTP server maintained by someone else. The first choice was my ISP, but unfortunately all the documentation I found about the settings seems to be from ten years ago and I couldn’t get it to work.
No worries, we have other options still.
I don’t want to use Google’s SMTP server, which is fine, since they don’t want me to use their service either:
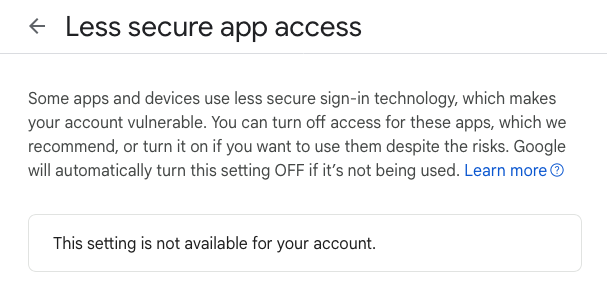
Oh well… Anyway!
On to Apple. I have an iCloud+ subscription for various reasons (for example, I use a custom e-mail domain) and they offer SMTP service as well.
The first step is to create an app specific password so we can authenticate properly. There is a detailed how-to guide on this page about the process, but to prevent a future link rot, here are the steps:
- Sign in to appleid.apple.com.
- In the Sign-In and Security section, select App-Specific Passwords.
- Select Generate an app-specific password or select the Add button (+), then follow the steps on your screen.
Make a note of the generated password, we will need it later.
Settings on the router
Moving forward, it was not a very hard thing to set up notifications. I wanted to have an alert when someone (hopefully just me) logs in and out of the router on any of the managing interfaces (web, ssh, mobile app, winbox, etc.)
We can achieve this by setting up the e-mail tool (for some reason I had to use the IP address of Apple’s SMTP server, FQDN does not work here #for_me):
/tool e-mail
set address=17.42.251.41 from=<your-icloud-email-address> port=587 tls=starttls user=<your-icloud-email-address> password=<your-app-specific-password>
Now we need to add the topics that will trigger an e-mail
/system logging
add action=email topics=account,info,ppp,pptp,!debug
add action=email topics=system,info,account,!debug
And finally set the recipient address:
/system logging action
add email-start-tls=yes email-to=<your-pushover-e-mail-address> name=email target=email
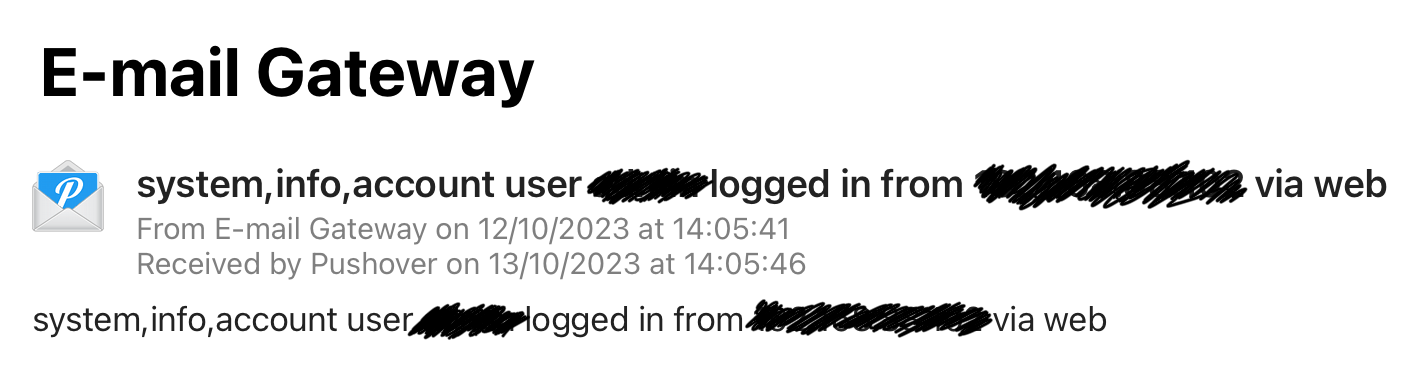
Success!
After setting this up I got a notification (almost) immediately:
I’d like to adapt this solution to other stuff I’m using, for example Observium notifications. Stay tuned!